This tutorial uses the program ADOBE PHOTOSHOP CS4, however it can be mimicked easily enough on other versions and programs.
Step 1 is to make your brush(s) however you want it. The bigger size document the better, to avoid pixelation. Once done, this tutorial will show you how to make your drawing into a real usable photoshop brush.
————-DEFINING A BRUSH————–
So you have your brush ready.
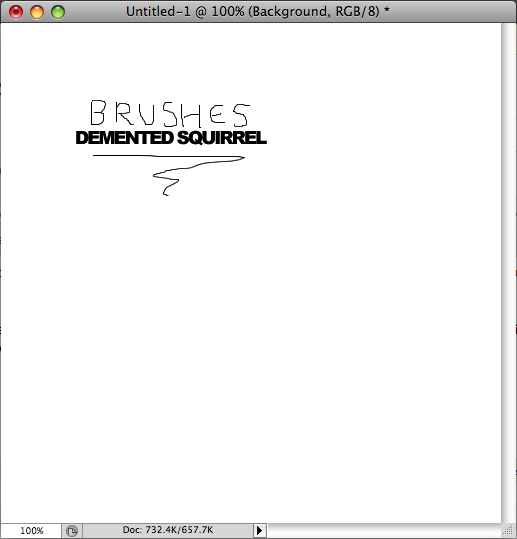
Use the Rectangular Marquee Tool and drag it around your brush to select it.

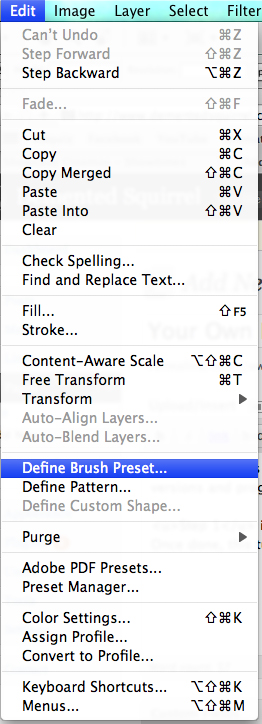
On the top bar, select Edit > Define Brush Preset .
A window will pop up asking you to name your brush. So, go on then. Click ok when done.

If you have multiple brushes, repeat the above steps for each one.
Your brush is now living and working. You may want to test it out on a new document. Go to your brush tool and scroll down your brushes to find it.
The brush you have made is for personal use only. If you wish to offer it to others, follow the next steps.
—————-MAKING A BRUSH SET (FOR DISTRIBUTION)—————–
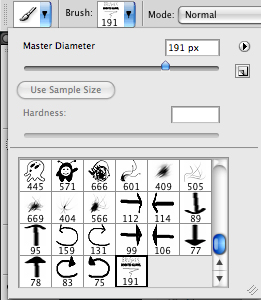
On your brush tool in the brush: section (above picture), find the little arrow pointing sideways and click on it. Options will come up. Select Preset Manager.

Another box showing all your brushes will pop up. Select the brush you want. (Shift click for multiple brushes) and choose Save Set….

Then just give your brush set a name and save to your documents.
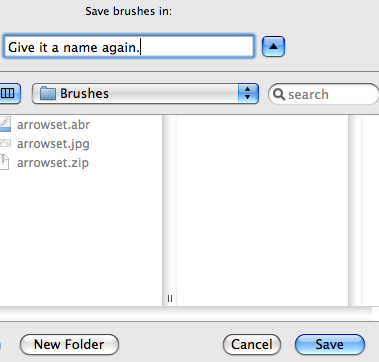
You then have a .abr saved file. A brush set.
You can .zip this and upload it to your website if you choose, or anything you like.